In this article, you will learn how to make a new booking using the GO7 PSS system.
Making a new booking is the most common task you will perform with GO7 PSS. That's why we have simplified the process to be simple and easy to use.
Step 1
In order to start a new booking, type in the search engine AVL and click 'Search'

In the AVL popup, input the details of the flight you would like to book

- Agency: Either select an agency or keep as direct client
- Departure date: When is the departure date?
- Return date: When is the return flight? (Keep empty for One-way)
- From: Select departure destination
- To: Select arriving destination
- Adults / Children / Infants: How many of each?
Follow the purple button and click 'Search Availability'
In the results screen, select a class for the outbound flight (on the left) and class for the inbound flight (on the right).
The flight results show all of the information regarding the flights available according to the AVL search.
- Departure time and destination
- Arriving time and destination
- Flight number
- Free seats
- Trip duration
- Optional classes, seats and fare of class
Then, write the PNR name (the name relevant to the booking: agent name, customer name, or call center representative). This might not be a mandatory field in your system, and in such a case, you will be able to open a booking without adding a PNR name.

Then, follow the purple button and click 'Book'

Step 2 - Customer information
If you are doing an agent booking, please skip to step 3
Click on the purple button 'Customer'

In the customer popup screen, you can either search for the customer in the database or create a new one if this is a first-time customer.
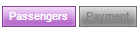
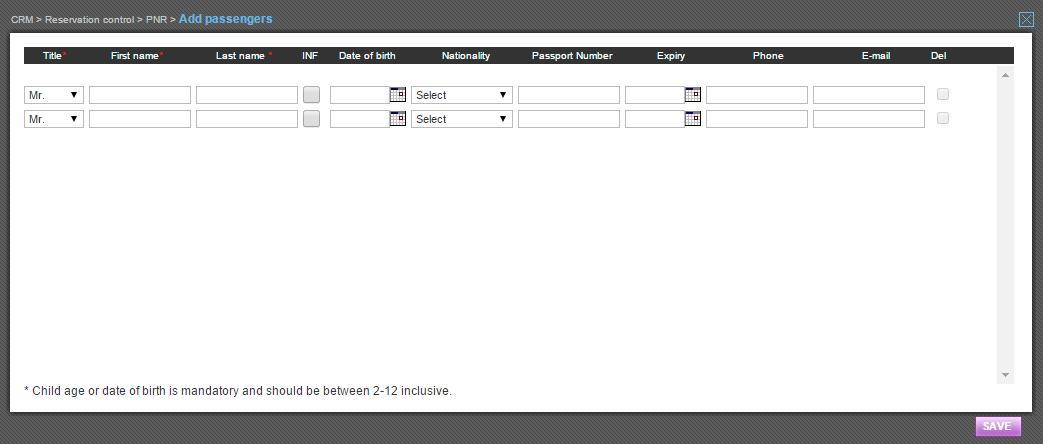
Step 3 - Passenger names
Click on the purple passenger button to input the passengers' names.
In the passengers' name popup screen, fill in the passengers' information according to the system settings and click the purple 'Save' button.
NOTE: Each column with a red star is a mandatory column.
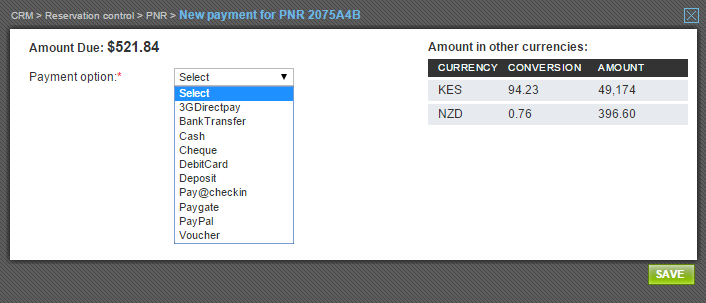
Step 4 - Payment
To issue a payment click on the purple 'Payment' button

In the pop-up screen, select the type of payment for this booking (Not sure what the payment options are? Learn more)
Step 5 - Issue the ticket
Click on the purple 'Ticket' button to issue the ticket and finalize the booking.

When you issue a booking, the system automatically generates an invoice as well.
Comments